
| 일 | 월 | 화 | 수 | 목 | 금 | 토 |
|---|---|---|---|---|---|---|
| 1 | 2 | 3 | 4 | 5 | 6 | 7 |
| 8 | 9 | 10 | 11 | 12 | 13 | 14 |
| 15 | 16 | 17 | 18 | 19 | 20 | 21 |
| 22 | 23 | 24 | 25 | 26 | 27 | 28 |
Tags
- Unreal
- render target2d
- FRunnableThread
- CSS
- unreal compute shader
- render target
- League of Legend
- unreal niagara
- unreal compute shader #unreal niagara #unreal #compute shader #unreal niagara with compute shader
- jquery
- texture render target
- kanban
- hlsl with unreal
- JavaScript
- visual studio integration tool 상태
- HTML
- FRunnable
- unreal c++ #unreal #unreal build #unreal
- niagara.pdb 로드되지 않음
- unreal niagara with compute shader
- unreal visual studio
- carousel indicator
- page dot
- Compute Shader
- Agile 게임 개발
- scroll-snap
- HLSL
- IntersectionObserver
- Riot Games
- Game Developement
Archives
- Today
- Total
Nephrite21
Ubuntu & window 듀얼 OS 설치하기 본문
Ubuntu & window 듀얼 OS 설치하기
리눅스 개발환경 구축을 위해 Ubuntu를 설치하기로 했는데, 현재 사용중인 데스크탑에는 Windows가 깔려있어서 추가로 달아뒀던 ssd에 Ubuntu를 추가로 깔고, 듀얼 OS 시스템으로 구성하기로 했다.
가장먼저 할 일은 Windows를 설치할 때와 같이 부팅용 USB를 만드는 일이다. 간단하게 Ubuntu 사이트에서 설치파일을 받아 쓰지 않는 USB에 설치해줬다.
설치한 버전은 최신 LTS(Long Term Support) 버전으로 다운로드 해줬다.
설치한 USB를 부팅용으로 바꾸어줄 Rufus라는 프로그램도 같이 다운로드하여 실행시켜줬다.

Rufus 설정

- 부트유형 - 아까 다운로드 받은 우분투 설치파일
- 파티션 방식 - GPT
- 대상 시스템 - UEFI
- 파일 시스템 - FAT32
시작버튼을 눌러 변환을 진행하고, 완료된 후 USB를 꽂은 채로 재시작하여 F2키를 눌러 바이오스 세팅으로 진입 했다.
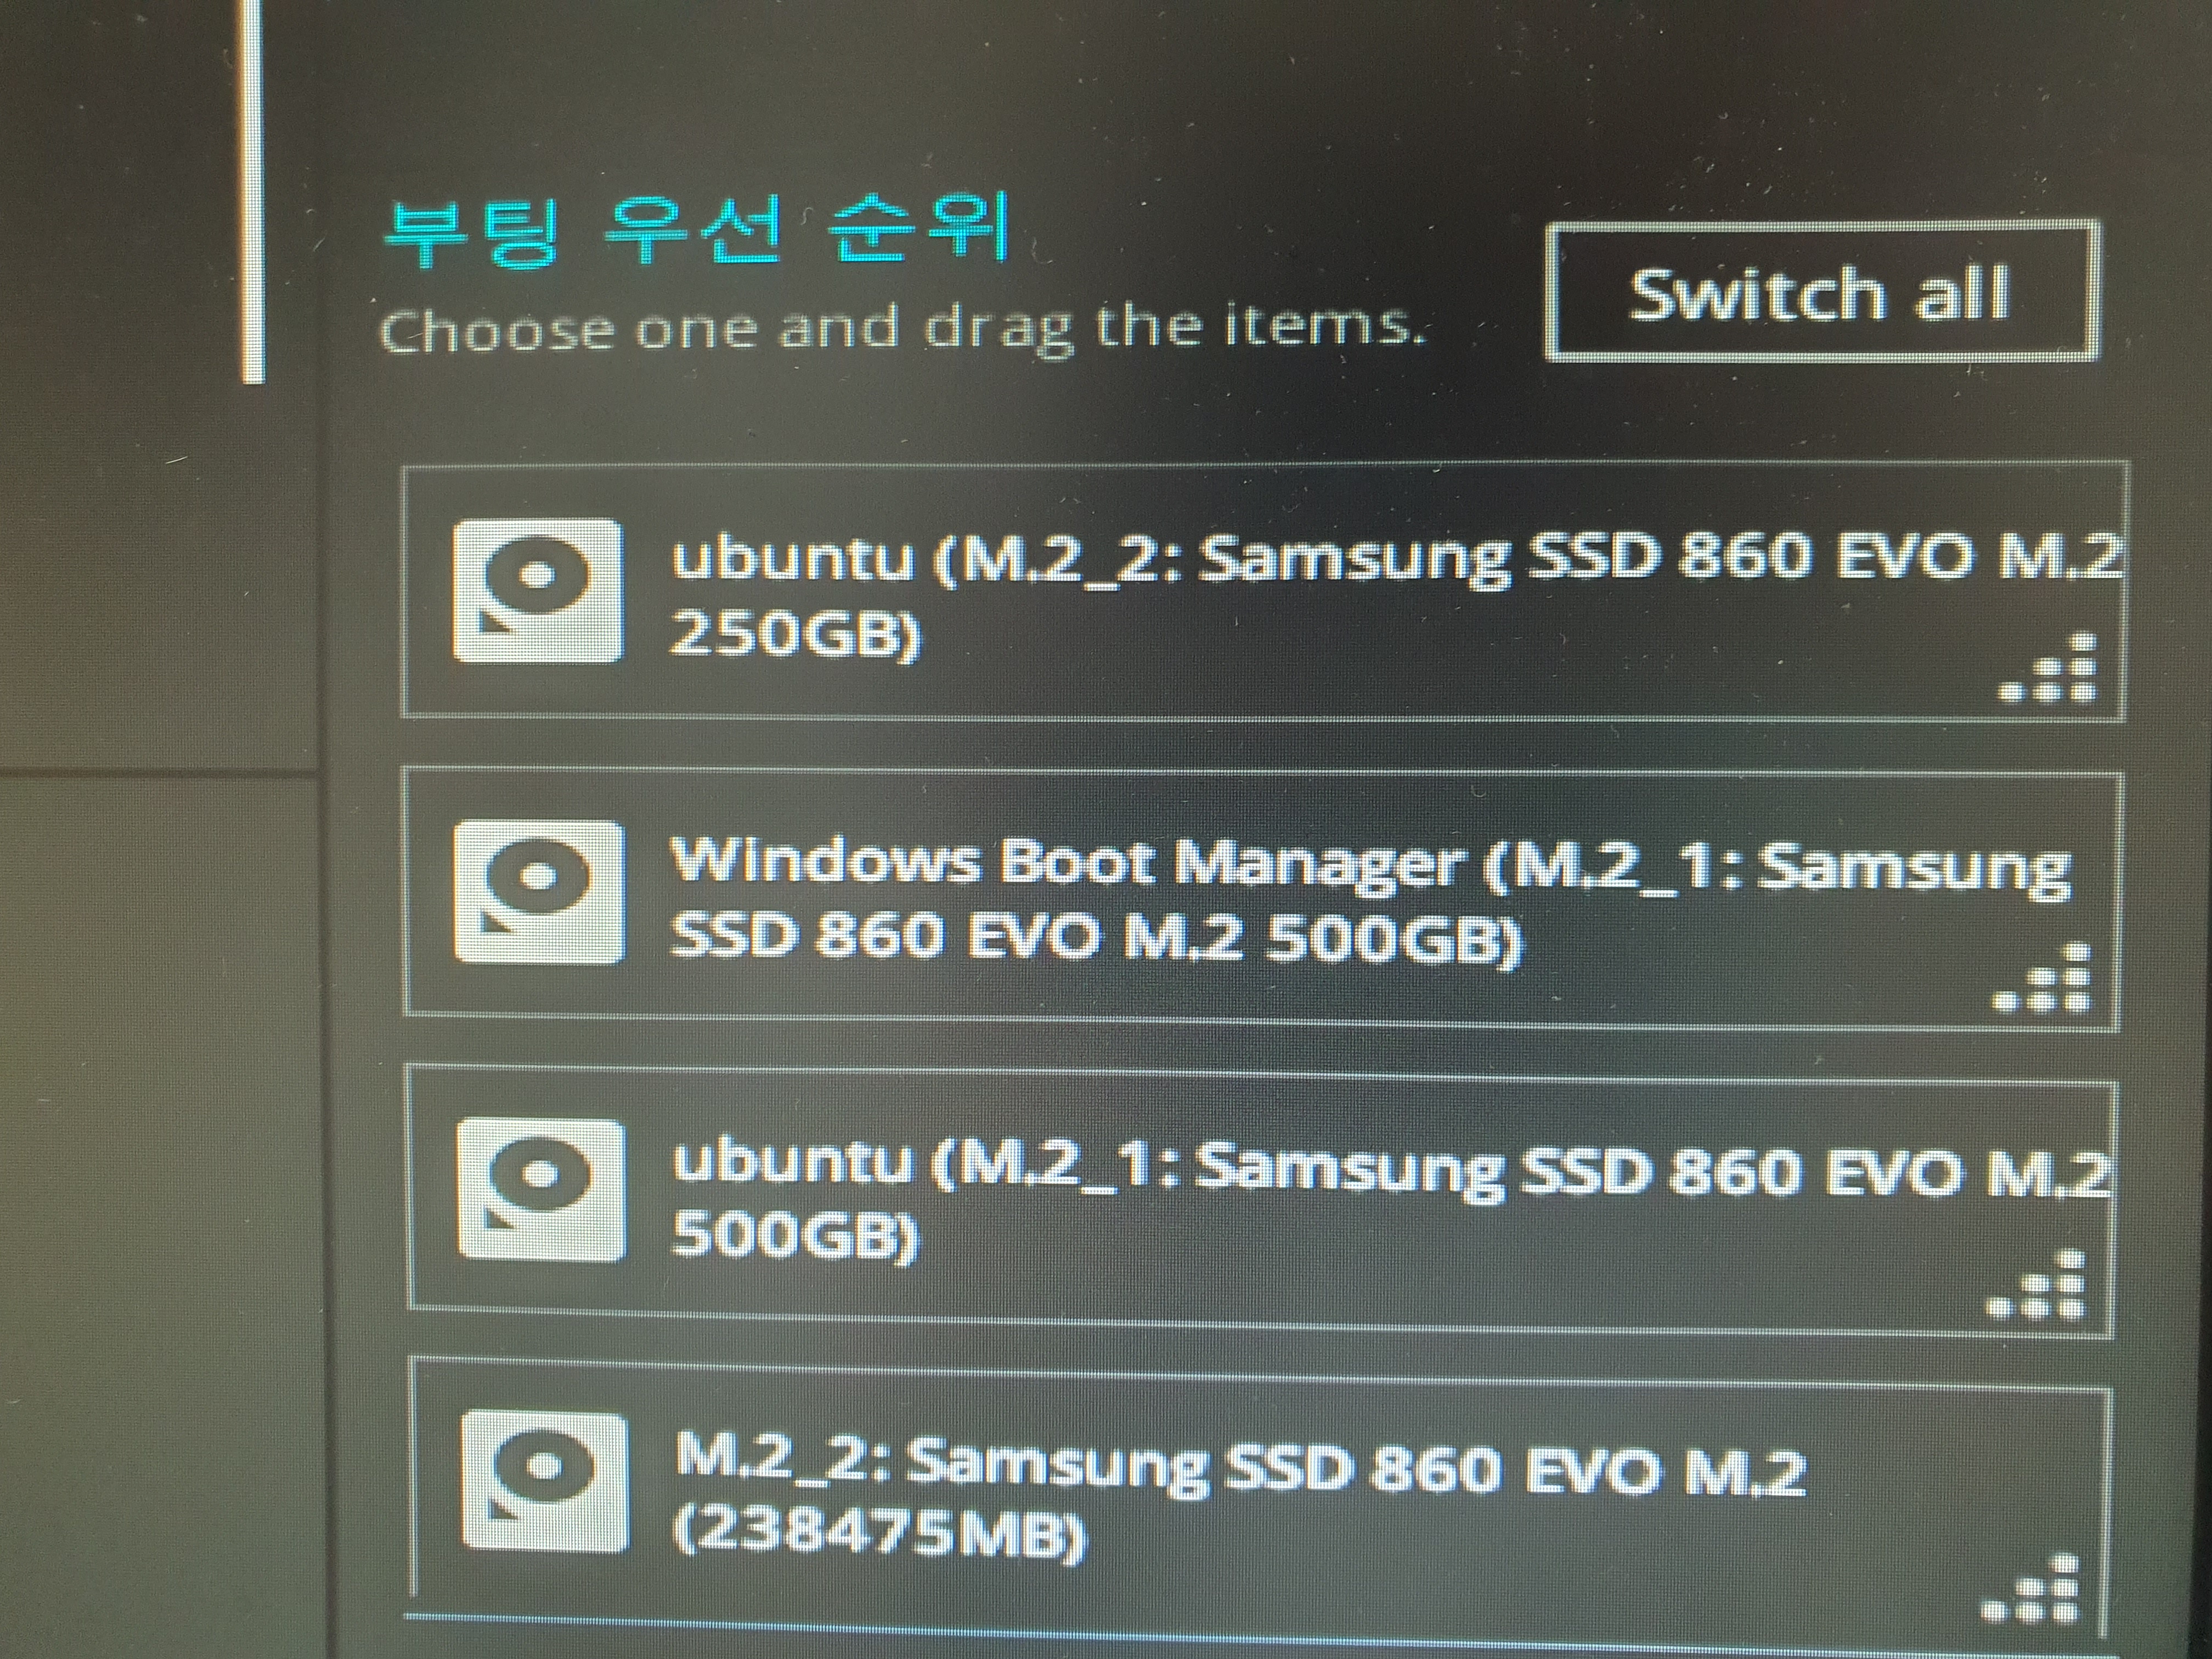
부팅 우선순위를 우분투가 설치된 USB로 변경하여 재부팅 해주었다.
출처 ->Windows가 설치된 컴퓨터에 Ubuntu 설치하는 방법 - 멈춤보단 천천히라도
ubuntu install 진행해주었다.
언어설정/최소설치로 진행해주었고, 파티션의 경우는 물리적으로 다른 ssd로 분리되어있어 설정하지 않았다.

sudo grub-set-default 2위의 명령어를 통해 인덱스 2번에 있는 윈도우 부팅을 기본 세팅으로 설정해두었다.